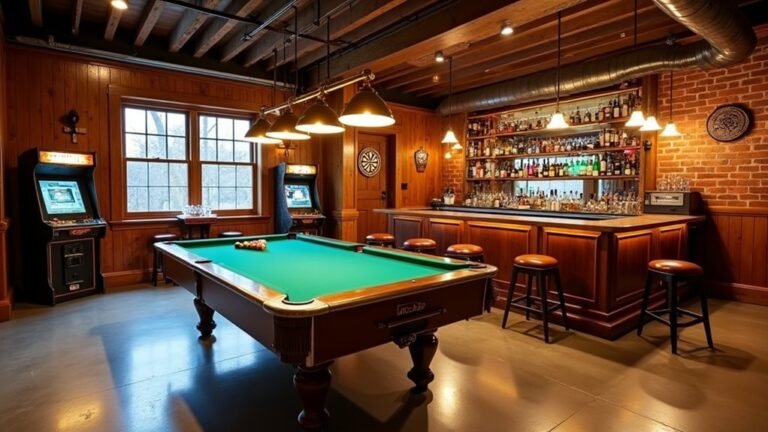
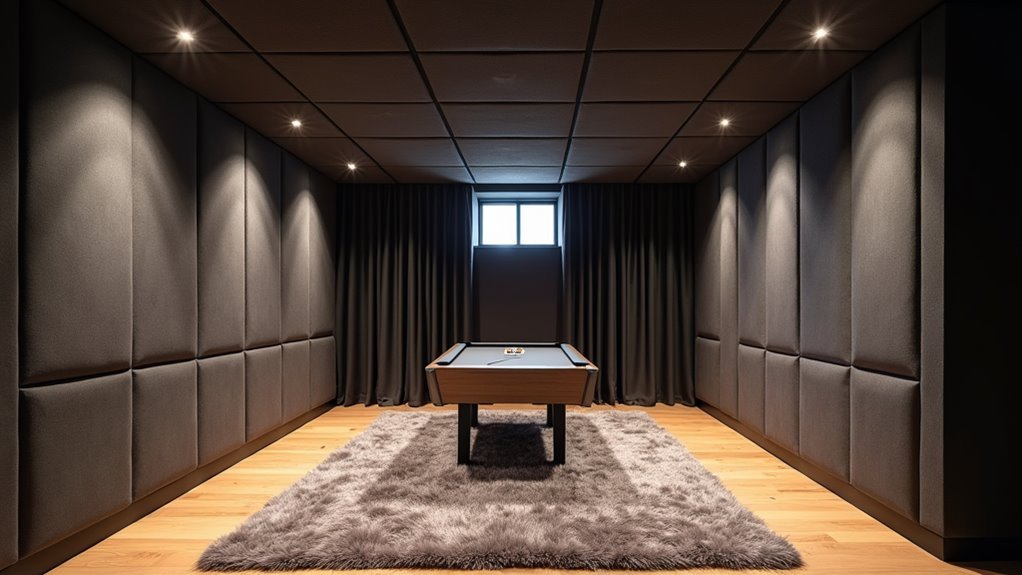
9 Soundproofing Tips for Basement Game Rooms
Soundproofing can cut noise levels by up to 50%, crucial for a basement game room to prevent sound from traveling upstairs. Start by inspecting and measuring your space to effectively plan and seal any gaps or cracks, a fundamental step often overlooked.
Explore these nine soundproofing tips to enhance your gaming experience, ensuring peace for everyone in the house. By following these strategies, you can achieve the perfect balance for enjoyable game nights.
Planning and Preparation

Before soundproofing your game room, focus on thorough planning. Inspect the basement, checking piping, walls, doorways, ceiling, flooring, and windows for areas needing attention. Measure door frames, windows, wall beams, and piping to map the room's layout accurately. Identify noise sources like HVAC and electrical wiring, and arrange the room to minimize sound transmission. Soundproofing efforts can be significantly enhanced by using materials like 5/8-inch Fire Code Drywall that help prevent noise transfer. Ensure your soundproofing methods comply with local building codes. Proper planning is key to a successful soundproofing project, creating an ideal game room retreat.
Sealing Gaps and Cracks

Sealing gaps and cracks in your game room is crucial for soundproofing. Use acoustic sealant or weather-stripping to fill gaps around windows and doors, as these materials block sound better than regular silicone.
Apply sound-reducing caulk on window ledges and frames to seal cracks. Don't overlook gaps around electrical outlets, pipes, and vents to prevent sound leaks. For doors, install adhesive perimeter seals and door sweeps for an airtight seal without hindering functionality.
Consider adding sound-absorbing materials for extra insulation. Seal subfloor gaps around wiring, cables, and pipes with acoustical caulk, which remains flexible for lasting soundproofing. Many soundproofing products also offer thermal insulation, which can help maintain comfortable temperatures in your game room.
Soundproofing Ceilings

After sealing gaps and cracks, focus on soundproofing the ceiling—a crucial step for a quiet game room.
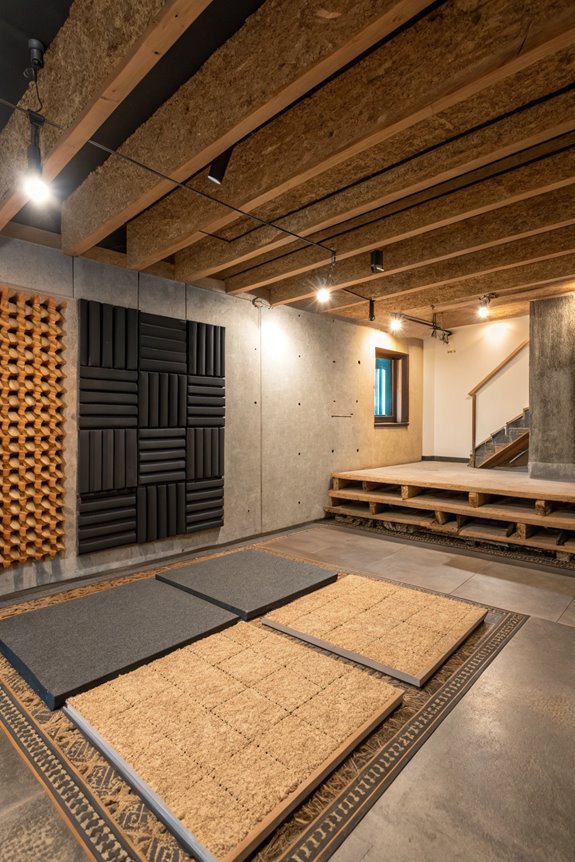
Add mass by installing dense fiberglass or rockwool insulation to absorb sound waves, or use mass-loaded vinyl for its sound-blocking properties. Adding a second drywall layer can increase mass, but ensure the joists can handle the weight. The use of rockwool not only enhances sound absorption but also provides thermal insulation benefits, making it an excellent choice for year-round comfort.
For budget-friendly options, use heavy materials like old blankets or towels.
Decouple surfaces by installing resilient channels or a suspended ceiling to minimize noise transmission.
Lastly, use soundproof panels and specialized ceiling tiles to absorb and diffuse sound effectively.
Soundproofing Walls

To soundproof walls effectively, use staggered or double stud walls to break the sound transmission path.
Enhance this with sound isolation clips and channels. Increase wall density using multiple layers of 5/8" Type X drywall or mass loaded vinyl (MLV).
Fill wall cavities with R13 fiberglass insulation for noise dampening, avoiding less effective foam insulation.
Seal gaps to prevent sound leaks.
Lastly, use acoustic panels or soundproofing materials to further reduce noise.
Soundproofing Floors
Soundproofing your game room floor can significantly reduce noise transmission, enhancing your gaming experience.
Begin by placing absorption foam between the concrete and the final floor finish. For carpeted areas or hard-surface floors, use underlayments like Iso-Step® Soundproofing Underlayment.
If your basement has a concrete slab, add a floated plywood floor to minimize airborne sound weaknesses. Seal any cracks with acoustic sealant to prevent sound leakage.
To reduce impact noise, insulate the floor and ensure all materials are securely fastened. Regular inspections and maintenance will keep your soundproofing effective, allowing you to fully enjoy your game room.
Soundproofing Doors

Doors often compromise soundproofing, letting noise through. Replace hollow-core doors with solid-core ones for better sound insulation.
Add mass loaded vinyl (MLV) to reduce sound transmission. Use sound-absorbing foam or fiberglass boards for extra insulation.
Seal gaps and cracks with acoustic caulk, and install door sweeps to close floor gaps. Apply perimeter seals, weatherstripping, and adhesive seals for an airtight fit.
Combining these methods ensures maximum soundproofing, creating a quieter basement game room.
Soundproofing Windows

After addressing door sound leaks, focus on windows.
Use Fantastic Frame window inserts to reduce noise by up to 80%. These custom-fit inserts are easy to install and effective in basements and other rooms.
Seal gaps with acoustic caulk around window frames and ledges to prevent sound leakage.
Add Mass Loaded Vinyl (MLV) for extra mass without bulk.
Consider a PrivacyShield Window Seal Kit for improved soundproofing and thermal insulation, creating a quieter game room.
Additional Soundproofing Measures

For additional soundproofing, focus on adding mass and decoupling surfaces.
Start by applying mass loaded vinyl (MLV) to basement ceilings and walls to block sound. Over the MLV, layer extra drywall, ensuring joists can bear the weight.
Enhance soundproofing with fiberglass insulation between studs and concrete foundations.
For decoupling, install a drop ceiling with a T-grid system to create a sound-reducing gap. Use RSIC Clips to separate drywall from studs, preventing vibration transfer. Offset drywall from ceiling joists to reduce contact.
Seal gaps and cracks with acoustic caulk to prevent sound leaks.
These measures will significantly improve your game room's soundproofing.
Tailoring Soundproofing to Activities

Enhance your game room's soundproofing by tailoring it to specific activities.
For high sound absorption, use ceiling tiles and panels with high NRC ratings and fill joist cavities with insulation.
To reduce high impact noise, apply layers of drywall and mass loaded vinyl, and seal all gaps with acoustic caulking.
For minimal disturbance from outside noise, use materials with high CAC ratings and ensure tight door seals.
Choose decorative or textured tiles for aesthetic appeal while effectively controlling noise.
Conclusion
Envision your basement game room as a soundproof sanctuary, allowing uninterrupted immersion in gaming adventures. Master soundproofing techniques like sealing gaps and reinforcing walls to create a noise-free haven. Prepare your controllers, invite friends, and dive into new adventures without distractions.