17 Cable Management Hacks for Gaming Desks
A cluttered gaming desk with tangled cables can disrupt your gaming experience, but implementing simple hacks like labeling cables and using Velcro straps can quickly restore order. These are just the start of transforming chaos into a clean workspace.
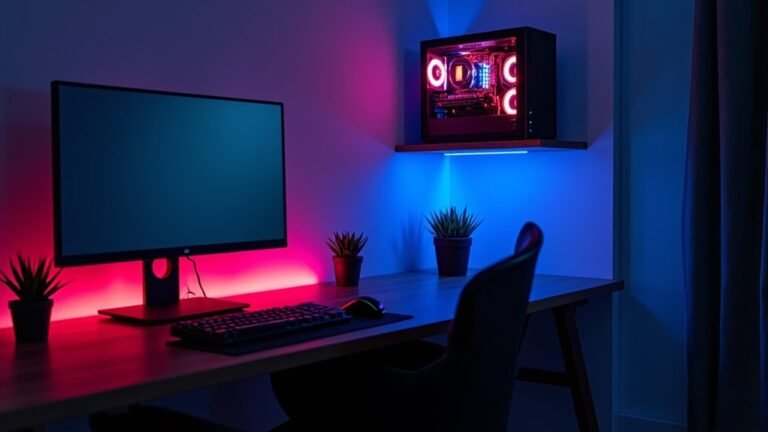
By employing clever techniques such as under-desk mounts, you can achieve a sleek and organized setup. Curious how these strategies can elevate your gaming environment?
Start With a Clean Slate
To ensure effective cable management at your gaming desk, start by disconnecting all devices and cables for a fresh start. Label each device and its cables for easy reassembly, and sort cables by type and destination. Remove unused or redundant cables to reduce clutter. Next, clear your workspace by removing unnecessary items and cleaning the desk thoroughly. Consider finding the best position for the power strip to facilitate better wire management. Gather cable management tools like Velcro straps and adhesive clips to streamline your setup efficiently.
Plan Your Setup

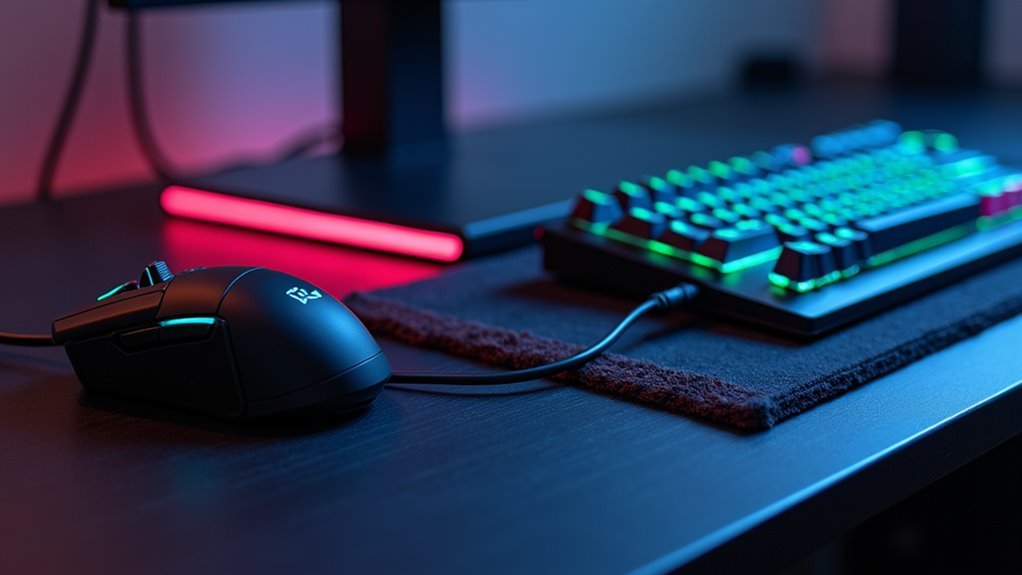
Prepare your workspace for optimal cable management by strategically positioning devices like monitors, keyboard, and mouse to minimize cable crossings. Consider your desk layout and available space, placing your computer and peripherals near power outlets. Ensure frequently used devices are within easy reach. Place the power strip near outlets but discreetly, such as under the desk or behind furniture, and secure it to prevent movement. Route cables efficiently using under-desk trays or racks; drill holes for hidden pathways if needed. Secure cables with ties or sleeves and label them for easy troubleshooting. Additionally, using wireless devices can significantly reduce the clutter of cables, providing more flexibility and a cleaner aesthetic.
Choose the Right Desk
When choosing a gaming desk, prioritize those with integrated cable management features like compartments, trays, or channels to reduce clutter. Ensure there's a spot for your power strip, whether under the desk, on top, or attached to a rail. Desks that support monitor mounts or arms can free up space and simplify cable routing. Opt for durable materials to support your equipment's weight and seek desks with built-in storage options like drawers or compartments for organization. Consider cable channels, ties, or clips for easy routing and concealment. Select a desk that meets your specific gaming needs and preferences. Integrated cable management not only improves the aesthetics but also enhances safety by reducing trip hazards. Many desks now include smart features like built-in USB ports and power management systems for enhanced connectivity.
Utilize Built-in Features
Optimize your gaming setup by using your desk's built-in features for cable management. Many gaming desks offer mesh hammocks or compartments to keep cables organized and hidden, ideal for standing desks.
Integrated cable channels or J channels can also route cables neatly, reducing tangles and visibility. Enhance your workspace with docking stations or USB hubs to connect peripherals and minimize cable clutter.
Consider PC holders mounted under the desk to free up space, improve airflow, and simplify cable access.
Identify Cable Requirements
To enhance your gaming experience, identify the necessary cables for your setup.
Use HDMI cables for connecting consoles and PCs to monitors, with HDMI 2.1 supporting 4K at 120Hz.
DisplayPort cables offer superior bandwidth for high-end setups, handling up to 8K resolutions.
For stable internet, choose Cat6 or higher Ethernet cables.
USB 3.0 or newer cables connect peripherals like controllers and VR headsets, ensuring faster data transfer.
Selecting the right cables ensures smooth gaming sessions.
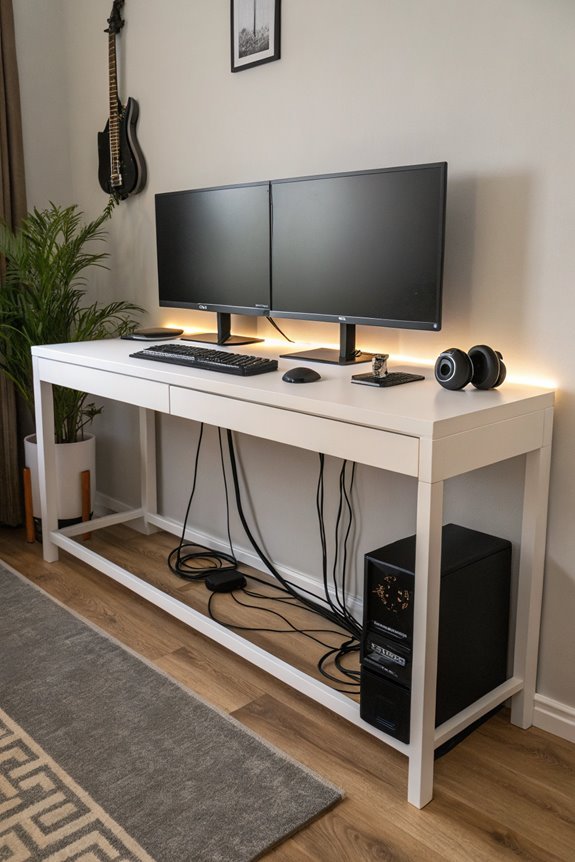
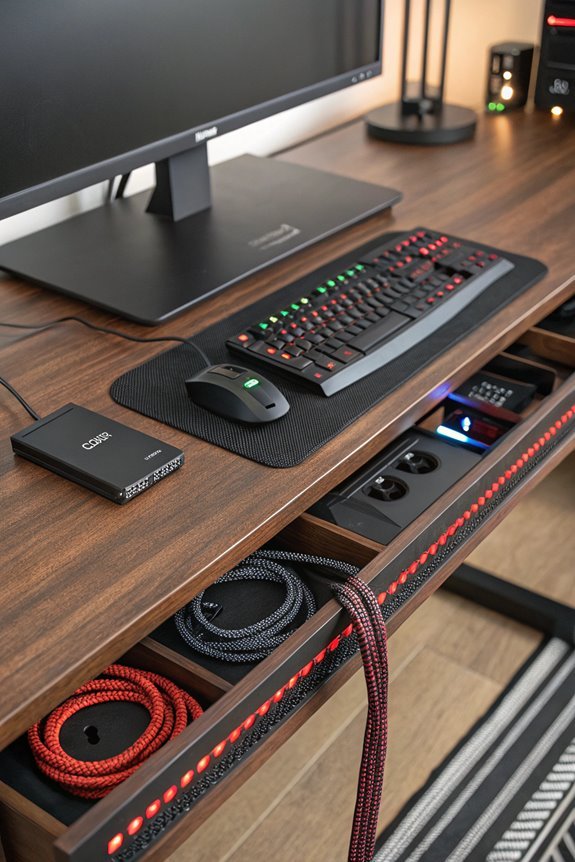
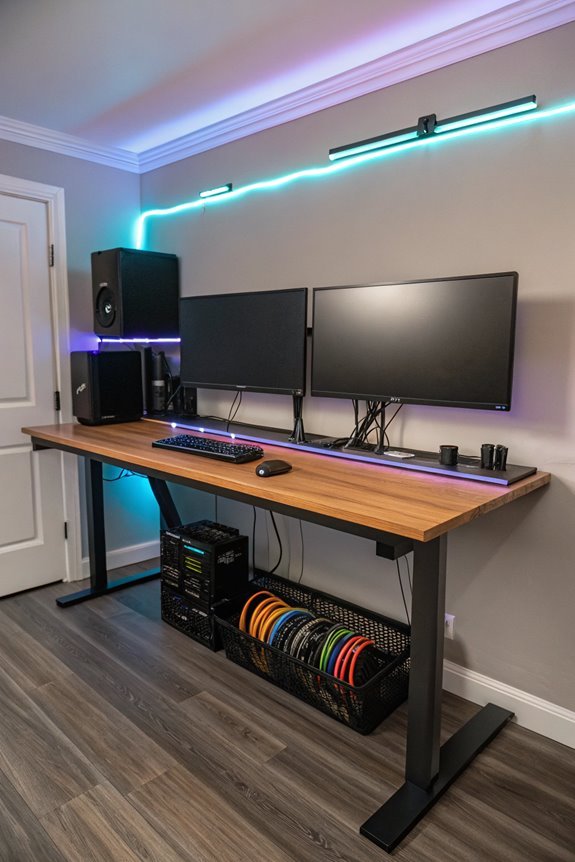
Add Under-Desk Compartments
Under-desk compartments revolutionize gaming area organization.
Gather a wire basket, power strips, extension cords, zip ties, and sticky back cord holders. Cut a corner of the basket for cords and secure the power strip inside with zip ties.
Attach the basket under your desk using cup hooks or screws, pre-drilling if necessary. Use sticky back clips to keep wires flat and hidden.
This setup minimizes tripping hazards and fire risks while providing easy access to outlets. Customize compartments with matching colors and consider adding more for different devices, resulting in a tidy, efficient space.
Use Cable Channels

Enhance your gaming desk by using cable channels. Attach these organizers to the back or underside of your desk to hide cables, reducing clutter and improving aesthetics.
Use J channels for easy routing, guiding cables neatly to power strips. Organize cables by function for easier management.
Consider metal or plastic trays for multiple cables, and secure them with clips or adhesive mounts. Leave some slack for flexibility, allowing easy adjustments.
Enjoy a safer, tidier gaming area!
Optimize Monitor Placement
After organizing your cables, optimize your monitor placement for comfort.
Adjust the monitor height so the top edge aligns with your eyes when sitting straight to prevent neck strain. Tilt the monitor backward between 20-50 degrees for a comfortable viewing angle, reducing neck and visual strain.
Position it about an arm's length away, adjusting for personal comfort to avoid eye strain.
For multiple monitors, ensure they're at the same height and alignment for consistent viewing, minimizing neck strain.
Install Monitor Arms
Enhance your gaming setup with monitor arms for better organization and ergonomics.
Start by attaching the VESA mounting plate to your monitor, then assemble the arm by connecting its sections with set screws. Secure the base to your desk using a clamp or screws, and use a security bolt to prevent the monitor from dislodging.
Monitor arms offer built-in cable management channels that reduce clutter and prevent tangles, which is crucial for multi-monitor setups.
They also optimize workspace by elevating screens, freeing desk space, and reducing neck and back strain for improved comfort and focus.
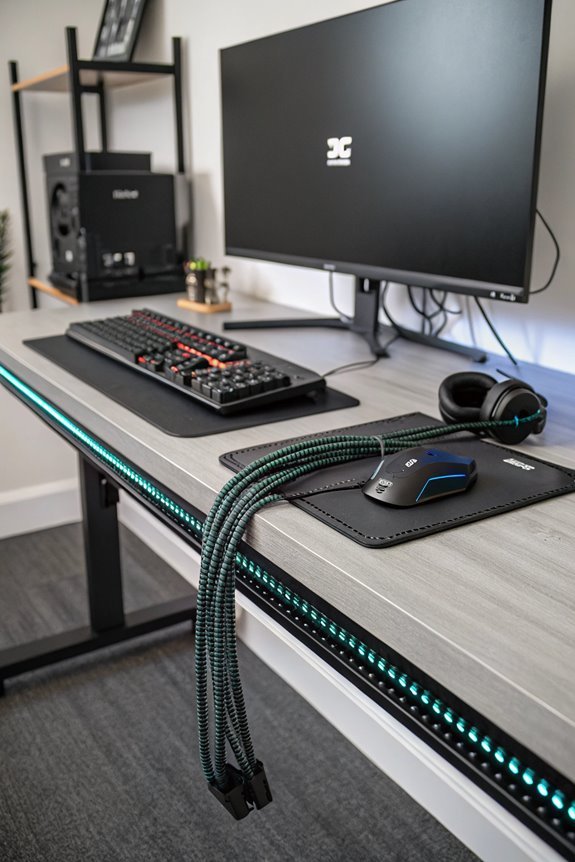
Bundle With Cable Sleeves

To tidy your gaming desk, use cable sleeves to bundle cables, reducing visual clutter and simplifying cleaning.
These sleeves enhance your setup's aesthetic, offering various materials, colors, and patterns to match your style. Expandable options accommodate more cables and make identification easier, especially when labeled.
Installation is simple: slide them over cable bundles and secure them.
Regular inspections ensure effectiveness, minimizing the risk of tangling or damage.
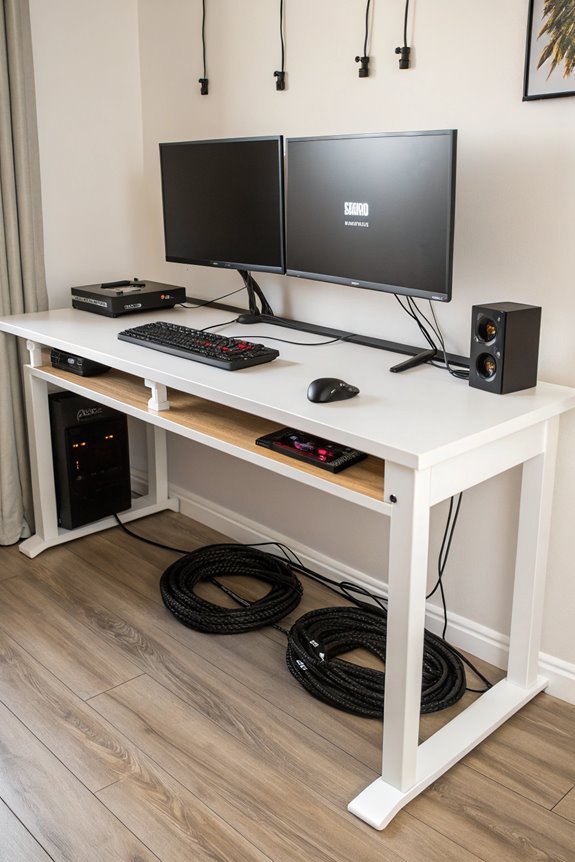
Secure With Cable Ties
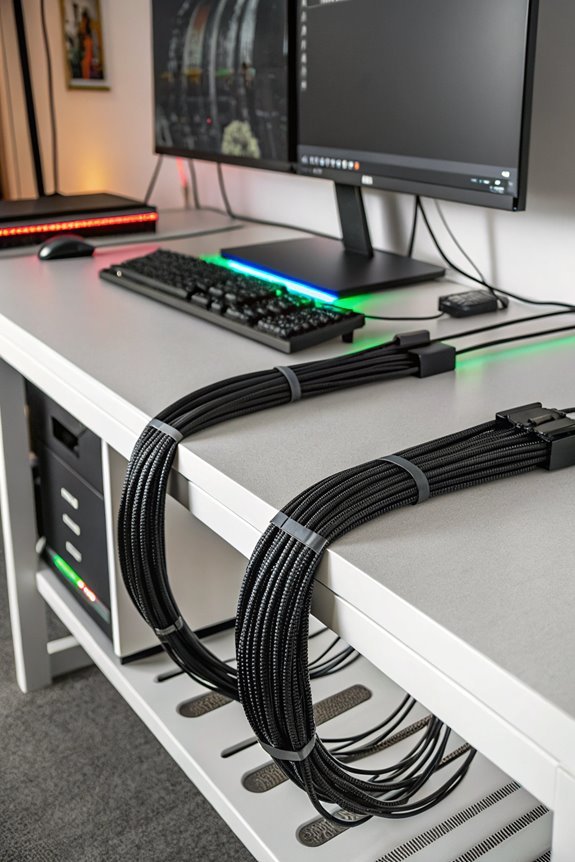
Bundle cables with sleeves, then secure them with cable ties, grouping by type like power cords and USB cables. Measure and adjust lengths to prevent tangling.
Attach bundles along desk edges or underneath, keeping them out of sight. Avoid over-tightening ties; leave slack for flexibility. Use reusable ties for easy adjustments and removals.
Label each cable to identify connections quickly and reduce confusion. Ensure no cables hang loose to prevent tripping hazards.
Regular maintenance will keep your setup tidy and functional.
Employ Velcro Straps
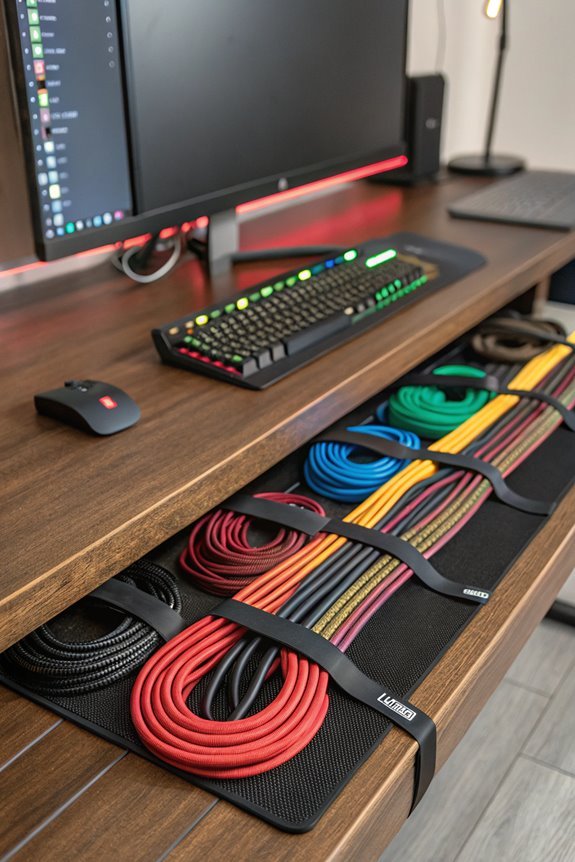
Velcro straps are essential for effective cable management due to their flexibility and reusability, making them an eco-friendly alternative to single-use plastic ties.
They're gentle on cables, preserving their longevity, and come in various lengths for different bundle sizes. You can label them for easier identification, simplifying your setup.
To organize your gaming desk, attach Velcro strips with self-adhesive, create loops, route cables through them, and keep everything neat.
Adjusting and adding peripherals is hassle-free, ensuring a clutter-free space.
Utilize 3M Clips

3M clips, alongside Velcro straps, effectively manage cable clutter on your gaming desk. Available in adjustable and single varieties, they accommodate different cable sizes.
With 3M adhesive backing, they securely attach to desks, walls, and shelves without damage. They're easy to install and durable, maintaining adhesive strength over time.
Use 3M clips to group cables, reducing clutter and tangles. Separate cables by function for better organization, and strategically place clips to hide cables for a clean look.
Pair with cable sleeves, ties, and raceways for comprehensive management. Regular adjustments ensure your setup remains neat and efficient.
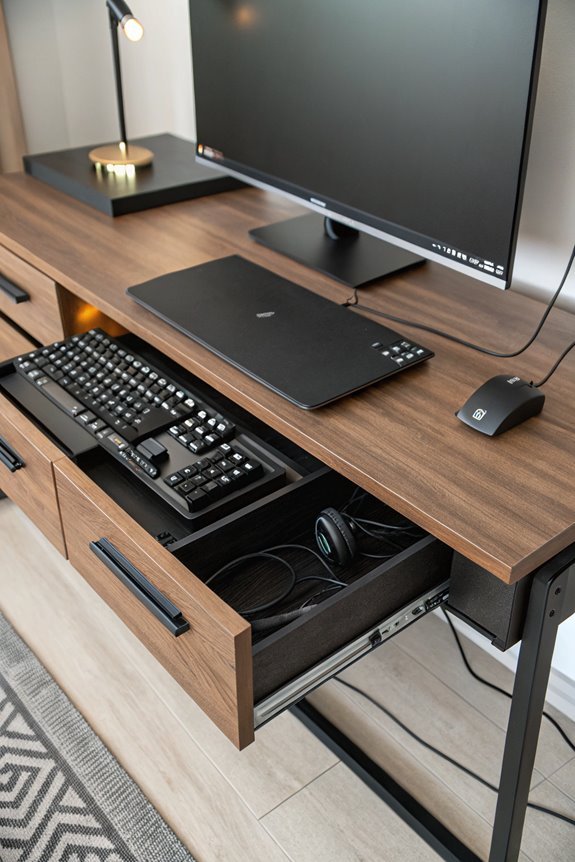
Mount Devices Under Desk
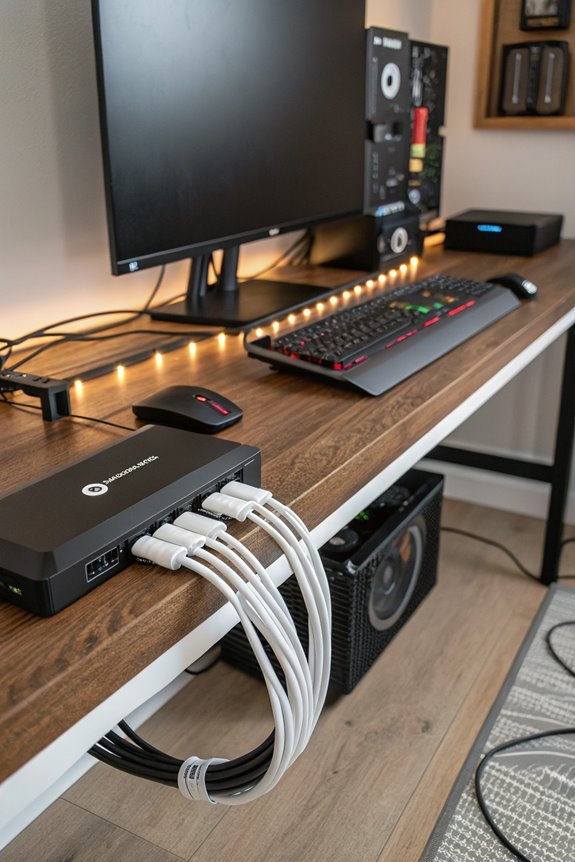
Mounting devices under your desk optimizes space and declutters your gaming area.
Suitable for laptops, tablets, modems, and small consoles up to 1.5" high and 11 lbs, these mounts are ideal for USB hubs and power adapters.
Installation is easy with included screws, padding, and 3M VHB™ tape.
The sturdy steel design features foam pads to protect devices.
This setup frees desk space, reduces cable clutter, and prevents tangled cords, keeping your gaming area neat and focused.
Manage LED Strip Cables
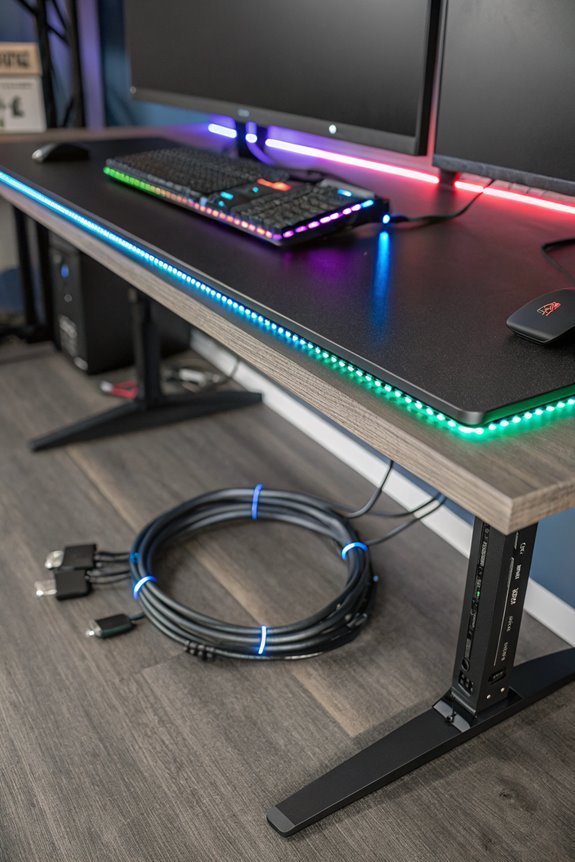
Once you've mounted devices underneath your desk, focus on managing LED strip cables to maintain a tidy gaming setup.
Plan your cable layout and use cable sleeves to bundle them neatly. Utilize cable ties and straps to prevent tangling, and attach cables to the desk or wall with clips and adhesive mounts.
Trim cables to the correct length to reduce clutter. For wire concealment, consider using paneling end caps with double-sided foam tape.
Secure LED strip connections with solderless connectors for a seamless link to the power supply, avoiding soldering.
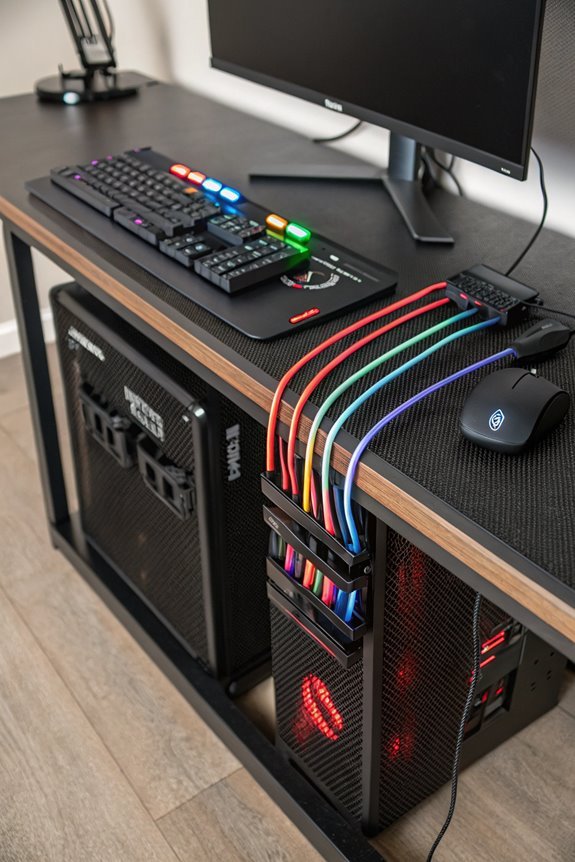
Install PC Holders
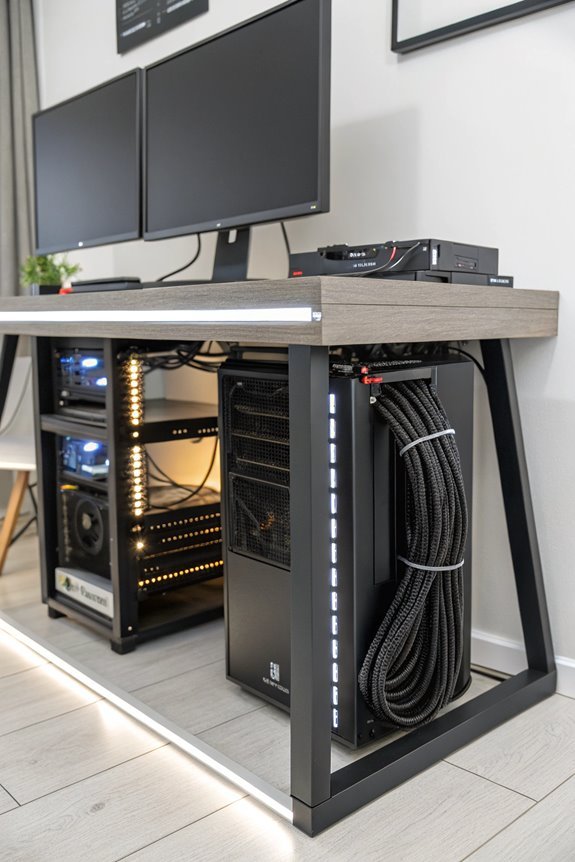
Enhance your gaming setup by installing PC holders under your desk. This addition frees up desktop space, boosts airflow to prevent overheating, and simplifies cable management for a cleaner look.
It also provides easy access for upgrades or maintenance. With adjustable sizes and strong support, PC holders fit various PCs securely.
Choose mounting options to keep your workspace tidy and professional.
Regular Maintenance Tips

Maintain your gaming desk by scheduling regular cleanups to declutter your space.
Remove unnecessary cables and either store or dispose of them. Dust and vacuum frequently to prevent debris buildup on cables.
Inspect cables for wear and replace if needed. Use dividers and labels in cable drawers for easy access.
Adjust cable routes to keep them organized and update labels when devices change.
Replace worn components to ensure a neat and functional gaming setup.
Conclusion
With a bit of planning and creativity, managing cables on your gaming desk becomes manageable. Remember, "a place for everything and everything in its place" to maintain order and reduce chaos.
Use these hacks to organize your setup effectively. Consider under-desk mounting or built-in features to enhance aesthetics and functionality.
A tidy space leads to a smoother, more immersive gaming experience. Happy organizing, and game on!